Get Support
- General Inquiries
- Technical Support
- FAQ
- Browse Knowledge Base
- How-to Videos
- View an Owner's Manual
Phone
- +1 (231) 221-0104
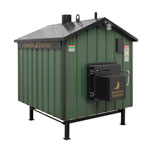
HE Series Blower Replacement Instructions
These instructions are meant as a guide for replacing both the solenoid and the blower at the same time. It is not always necessary to replace both components at the same time. Use gloves and safety glasses.
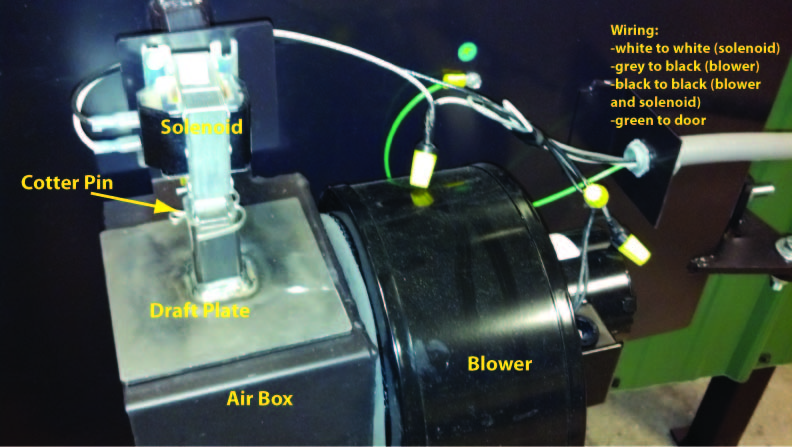
Parts:
- Blower (A166 - HE-1100, B45227 - HE-2100)
- Gaskets (1100-DRG, 1100-DFG or 2100-DRG, 2100-DFG)
- Solenoid (2005-M-1)
- Cotter Pin 5/32 x 2 1/2 (15640)
- Shut off power to unit.
- Remove cover from front door of unit by removing screws using the 5/16" driver.
- Remove the tape and wire nuts from the wires.
Wiring:
- White to white - neutral - solenoid
- Gray to black - neutral - blower
- Black to black - power/positive - solenoid and blower
- Green - ground to door
- Remove screws from solenoid.
- Remove cotter pin and draft plate (if changing to new solenoid).
- Replace cotter pin and draft plate (if changing to new solenoid).
- Remove air box screws.
- Remove blower screws.
- Replace blower with new gaskets. It may be necessary to clean the door to remove the old gasket or silicone. The new blower will have the wires tucked into the metal wiring box. Remove the screws and one knock-out in the blower. Feed the wires through the knock-out and replace the cover. It is recommended that the wire protector nut is also moved from the old blower to the new one.
- Replace air box.
- Replace solenoid with draft plate attached.
- Check for gaps or spaces between the blower to door and blower to air box. If there are gaps the blower and air box need to be adjusted. Check that the solenoid draft plate fully covers the opening into the top of the air box.
- Rewire the components. Solenoid wires should be between the solenoid and the door.
- Replace cover.
- Turn on power and check (listen) for blower and solenoid.
Searchable keywords: blower, solenoid, fan, replacement, HE Series